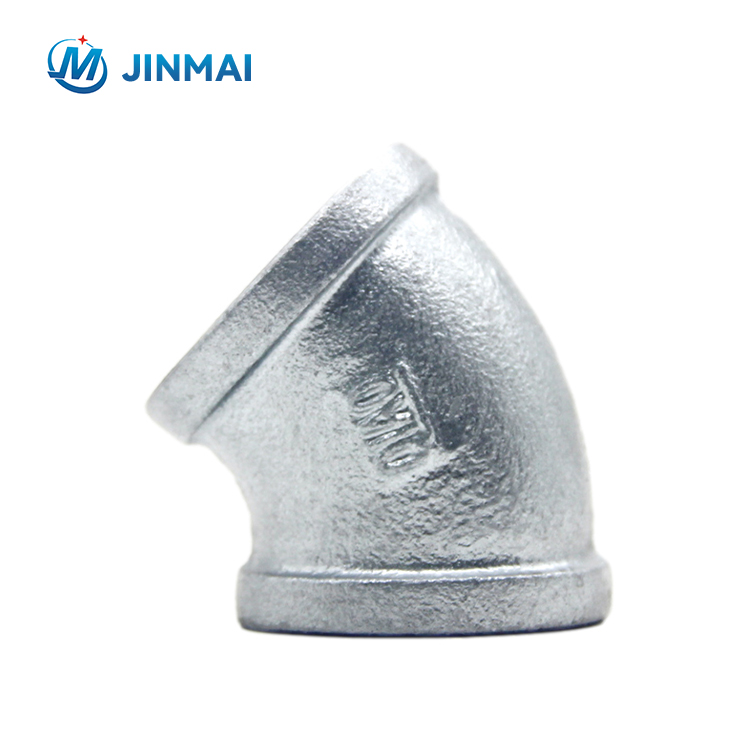
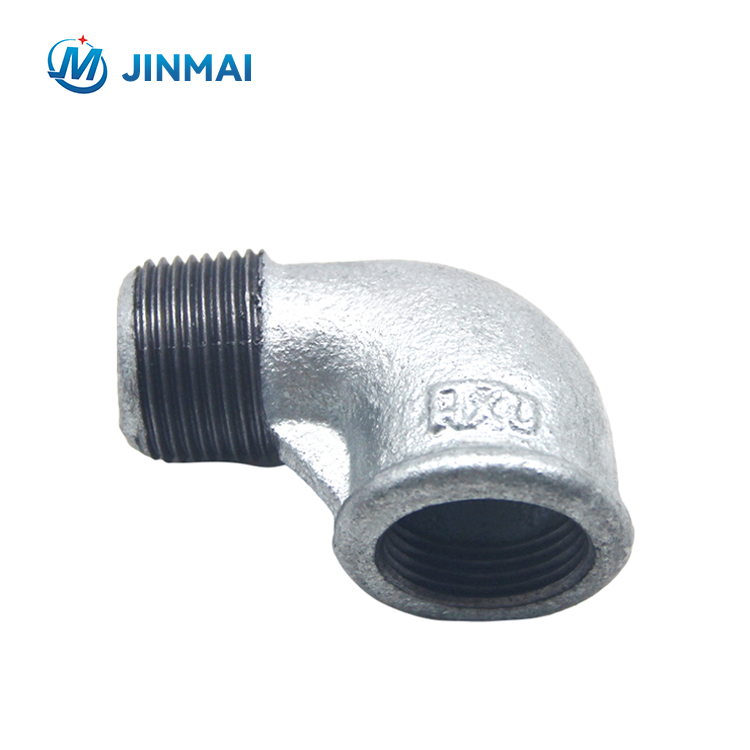
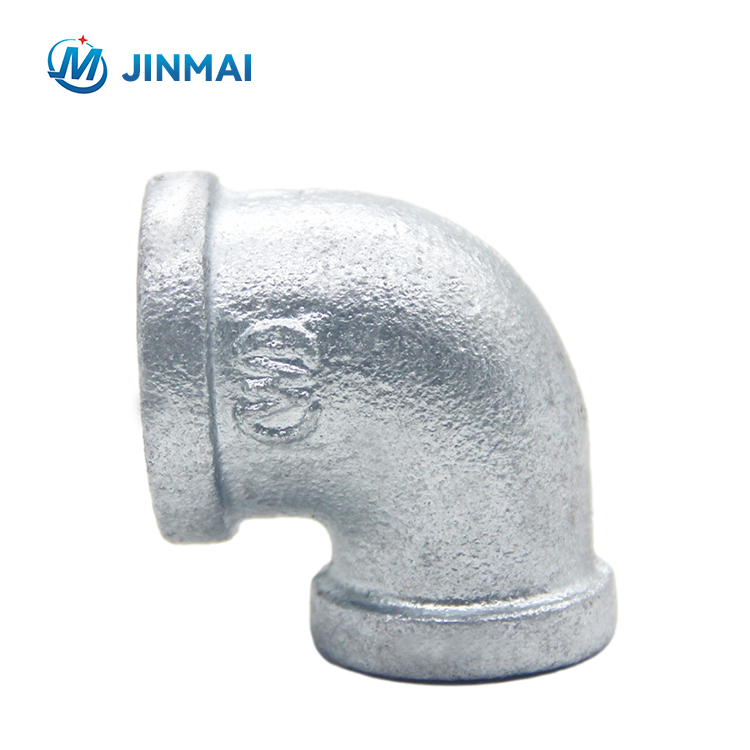
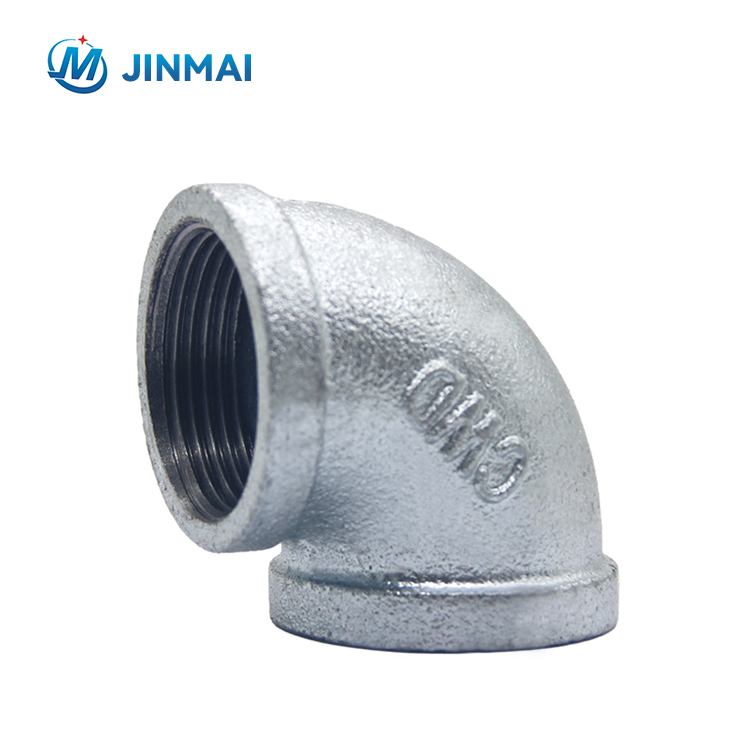
The installation process for malleable pipe fittings involves the following steps:
1. Prepare the pipes: Cut the pipes to the required length and remove any burrs or debris from the ends of the pipes.
2. Prepare the fittings: Clean the threads of the fittings with a wire brush or cloth to remove any dirt or debris.
3. Apply thread sealant: Apply thread sealant to the male threads of the fitting. Use a sealant that is compatible with the type of fluid or gas that will flow through the pipes
4. Thread the fittings: Hand thread the fittings onto the pipe, making sure they are aligned correctly. Use a pipe wrench to tighten the fittings, but be careful not to over-tighten, which can damage the fittings or the pipes.
5. Test the installation: After installation, test the system for leaks by pressurizing the pipes and checking for any signs of leakage.
To test the installation, follow these steps:
1. Close all valves and ensure that the system is depressurized.
2. Fill the system with water or air at a pressure slightly above the maximum operating pressure.
3. Check all joints for leaks. Use a solution of soap and water to detect leaks – bubbles will form at the site of any leaks.
4. Fix any leaks that are detected and retest the system until all leaks have been eliminated.
5. Once all leaks have been fixed, slowly increase the pressure to the maximum operating pressure and check for leaks again.
6. Once the system has passed the pressure test, it is ready for use.


Post time: Jun-21-2024
